Tuesday, March 17, 2015

The family that Comic Cons together, stays together.


Last weekend, we had another awesome Comic Con experience. We've learned a lot from our previous experiences at Comic Cons, and like anything else involving kids with Autism, we knew we had to plan, plan, plan. And that is exactly what we did. Comic Cons usually publish a program guide a week or two prior to the convention. So our first bit of planning involves going over that guide with a fine tooth comb. We let the kids pick out the celebrities that they want to meet, who they want to get autographs from,  who they want to be photographed with, and which discussion panels we think the kids will enjoy. I try to go in with a budget in mind, otherwise you can easily spend a fortune.

Once we have a list of what we want to accomplish, we are all set and just do our countdown to Comic Con. The kids are huge comic book fans, so the month prior to the convention usually involves them bouncing off the walls with excitement. The kids like to go in costume. This year, Noah wanted to wear his Superman costume again. I gave him other options, but he was adamant that he wanted to be Superman again. Nik wanted to be the 11th Doctor from Doctor Who. Alex and I don't dress in costume, but we do try to wear a nerdy type shirt.
Nerd clothes.

This year, the kids really wanted a group photo with some of the Guardians of the Galaxy cast. That photo op was scheduled to take place at 5pm, which would make for a very long day. Normally, we only spend a few hours at the convention. Since we were planning on being at the convention for 8 hours, I made sure that I packed a day bag for us. I brought my Travelon Circle Lock travel crossbody bag. It's meant for travel, so it has several great organizing pockets, as well as the ability to lock the zipper compartments. In the backpack, I kept some things that would distract and keep the kids comfortable during the day. I packed one of the ipads, wet wipes, hand sanitizer, Tylenol, band aids, pretzels, crackers, a couple oranges, and a fold up tote for purchases. The reason we packed snacks, is because the concession lines can be very long. We wanted to have something on hand in case the kids were starting to lose it. Believe me, you don't want to be waiting in a long concession line with two kids on the verge of losing it.
Nerd gear. Loving my new camera! It was nice not to lug around the big DSLR.

On the morning of the con, we got up bright and early, so we could arrive by 8:30am. 
Meet the 11th Doctor.
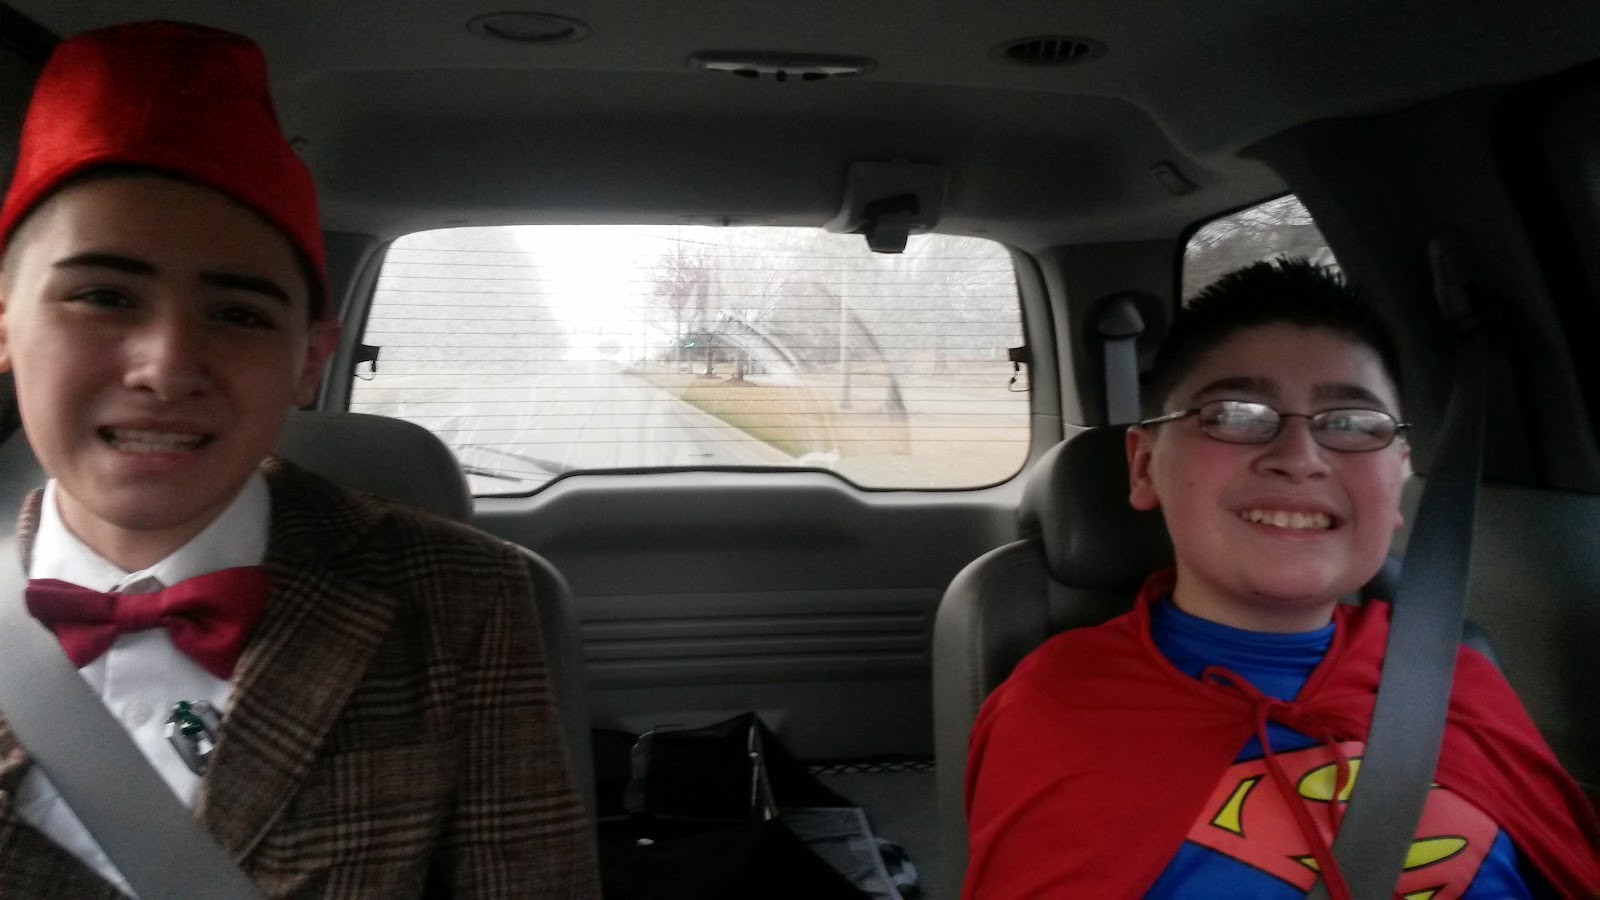
Two super excited kids!


I had pre-purchased our tickets ($110), so we were able to go through the will call line to get our wrist bands. There was already a line to get in, even though we arrived 90 minutes early. 

Fortunately, we were at the front of the line. Check out the crowd by 9am.
Ahhhhhhhh!

The crowd was starting to get to Noah, so we let him take refuge on the floor. Nik took Noah's lead, and before long, we had to kids relaxing by our feet.

That ipad came in handy. Nik read some of his comic books!

Pretty soon, the 501st started their procession into the convention. This is the official kick off to the Con!


Once they were inside, we were ready to go in. See that 100 number suspended from the ceiling. In our 90 minute wait to get in, we talked to the kids about what would happen if we were to get separated. We pointed that number out and told them that if anyone got separated from the family, they should go stand under that number. In the old days, when the kids weren't so verbal, I would iron on a name tag and phone number to the inside of their clothes. 

Even though there was a sea of people behind us, everyone was pretty relaxed as they entered the convention. There was no pushing or shoving. The kids wanted to meet Michael Rooker, so we went straight to his autograph line. We were at the front of the line, but still had to wait an hour, because he was not doing autographs until 11am. More waiting, more chillin' on the floor. This is why I brought plenty of wet wipes to clean hands.

And look who stopped by. It's Chef Vader!


Before long, it was our turn to get an autograph ($60) and picture ($30). That's Michael Rooker in the hat. He was very nice and friendly with his fans. As an added bonus, that's Sean Gunn standing to Noah's right. He was also in Guardians of the Galaxy.  

And here is the picture that was autographed.

By the time we got out of the autograph/photo line, it was already time for lunch. And of course, there was a line. 


The food is nothing fancy. Alex, Noah, and I got cheeseburgers, Nik got the chicken strips, and we split a couple sodas and fries. The total came out to $38.


After lunch, we decided to do some exploring. 

They had the original Batmobile, and one of the Back to the Future cars.

The Kit car.

Indiana Jones motorcycle and side car.

Superman admiring Batman's wheels.


Why so serious, Nik?

By this time, it was getting really crowded. It was hard to take pictures or shop, but we did our best.
There were some cool Lego displays.


And that extra tote bag came in handy. Rule #1 of going to a comic book convention. Bring your own tote bag to carry purchases. While we were shopping, we ran into some amazing cosplayers!


But before long, it was time to head over to the Guardians of the Galaxy panel discussion.
We got there an hour early, and were about the 10th people in line. Woo hoo! We actually had a nice, cushioned bench to wait in. 

We sat somewhere in the back. And there were big screens up at the front, so there really wasn't a bad seat.


The panel was very funny. They had everyone laughing. And as an extra bonus, we had an hour to sit and relax. 

After the panel, we went back out onto the convention floor to check out some of the cosplayers. At this point, we still had an hour to kill before our 5pm group photo.


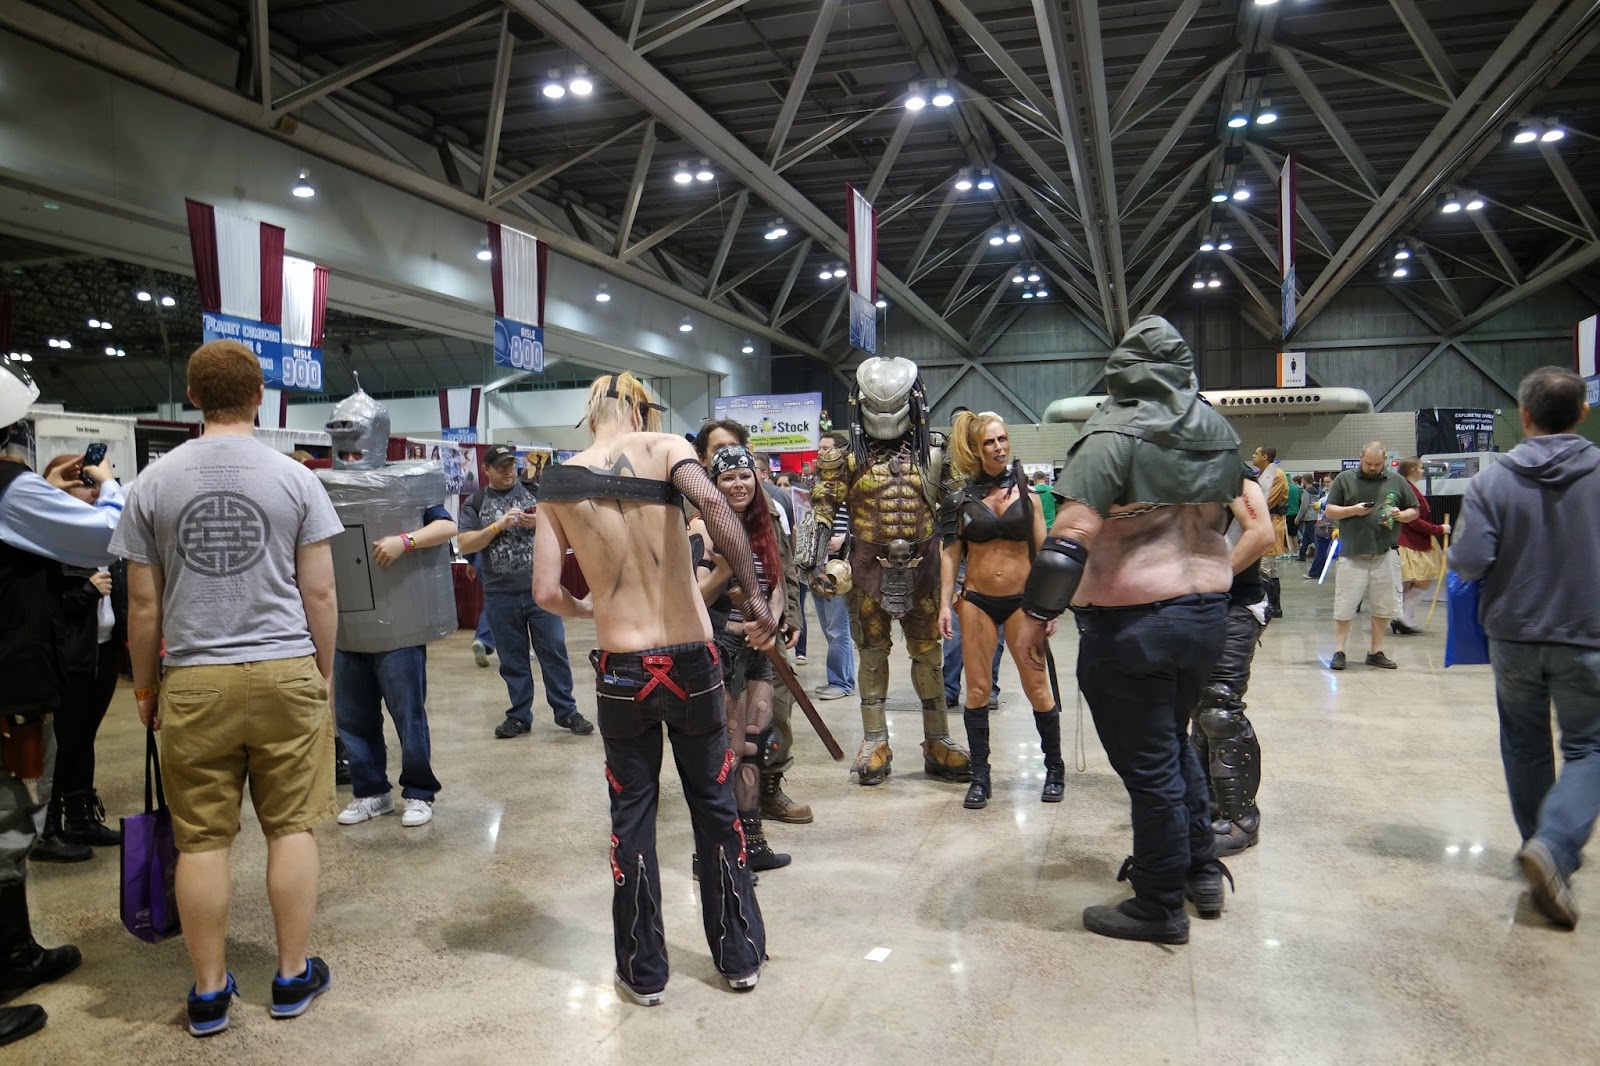


The kids were getting pretty tired at that point. We had a seat, and let them eat an orange and have some water to recharge their batteries.

Then we headed over to Steve Cardenas (Red Power Ranger) to get a photo with him ($20). Nik was super excited, because he is a big Power Ranger fan. And apparently this Ranger was one of the original Mighty Morphin Power Rangers from the tv show.
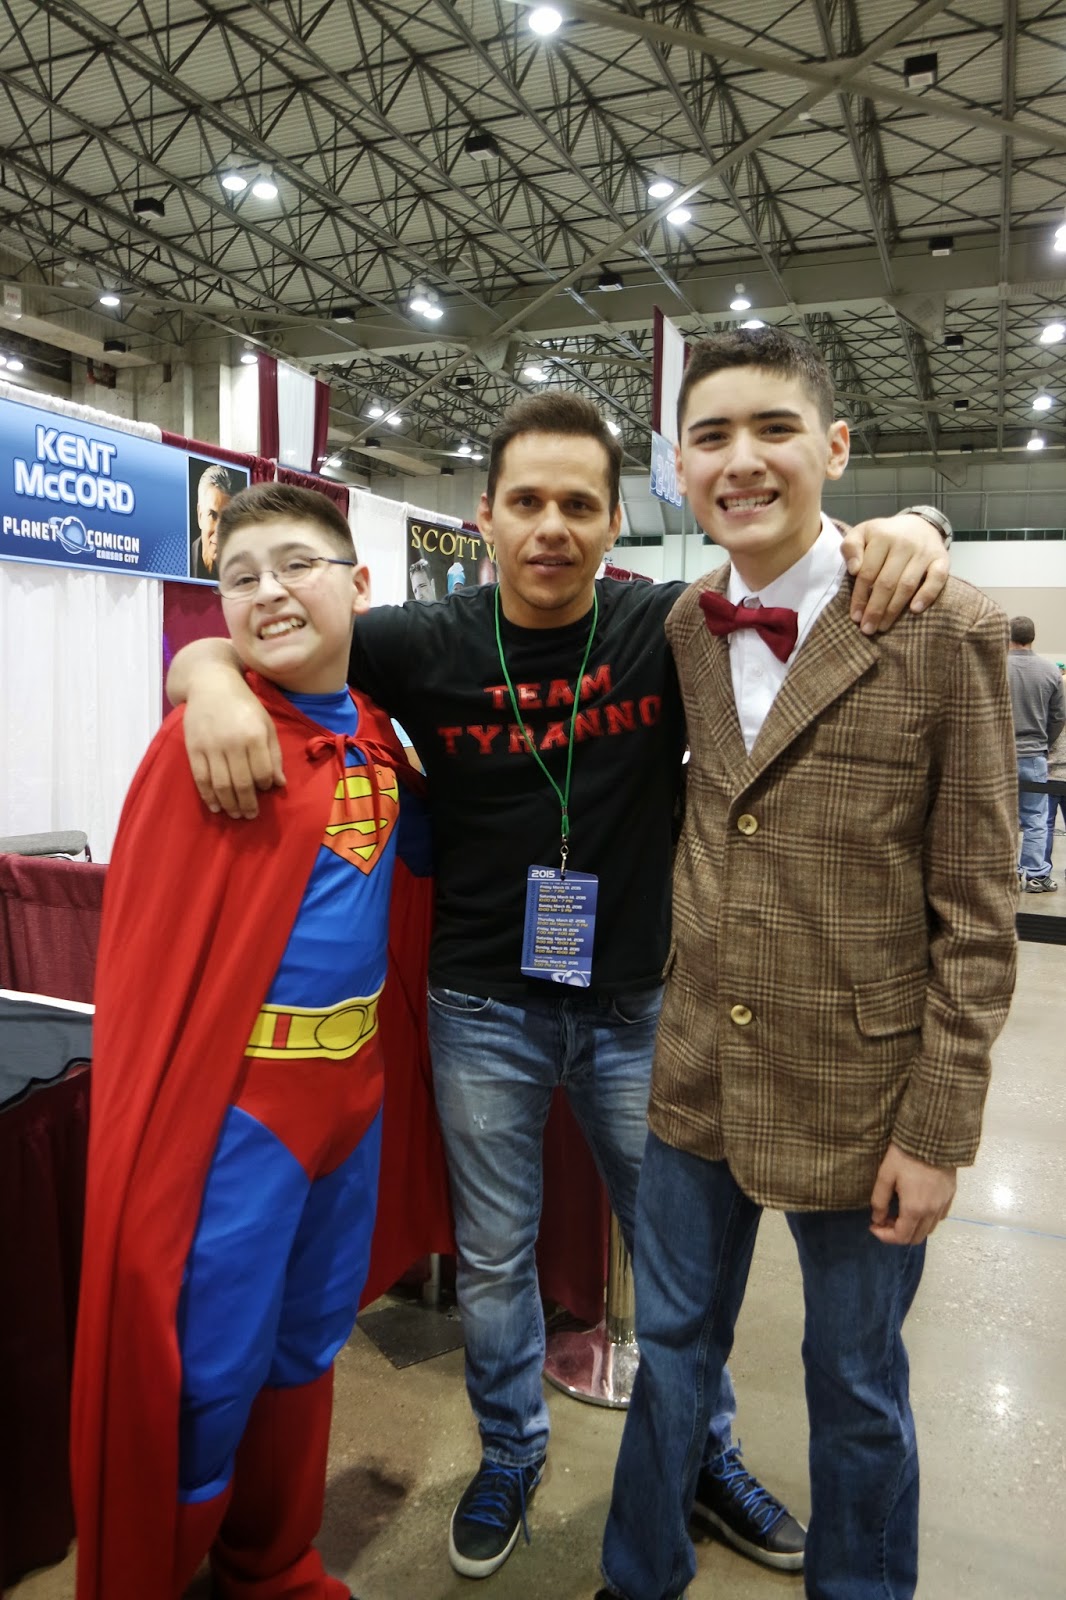

Finally, it was 5pm, so we headed over to our group photo op ($150) with Michael Rooker, Sean Gunn, and Karen Gillan. We waited about 30 minutes until it was our turn. The kids were tired, but excited to get their group photo.

It was a another great comic con experience. And of course, I can't help but remember that it was almost 7 years ago, when Noah wouldn't even leave the house without having anxiety. Now look at my  kid! I love that we can go out and do things together and have fun as a family. The kids are such comic book fanatics, and love everything about these conventions. It's so worth every penny. And there were a lot of pennies. Our spending total for the day came out to $550, including parking. Because this is the place where my kids could recite every fact that they know about Marvel and DC. And not only can they talk endlessly about every villain known to mankind. But they are surrounded by other people filled with the same knowledge. Instead of the one kid who likes to flap his hands and bounce on his tip toes, or the kid who likes to pace and recite cartoon lines, they are like everyone else in the room. A sea of fellow nerds who love and embrace all things comic books. So yeah. Worth. Every. Penny.




Friday, February 20, 2015

It's All Organic. Unboxing Door to Door Organics

There is nothing like good, fresh, locally grown produce.


One of my awesome co-workers turned me on to Door to Door Organics and this was my first week of receiving a delivery. In case you aren't aware, Door to Door Organics delivers fresh, local, organic groceries right to your front door. I was skeptical in the beginning, but after receiving my first box, my opinion has changed.

Here is how the process works. To start off, I had to go to their website and register. https://kc.doortodoororganics.com/ It was a pretty simple process. The beauty of Door to Door is that everything is under your control. You select the size of the box, the frequency of delivery, and the items that come in the box. When you first register, you start off by selecting your box variety. Here are the options:

  • Mixed fruit and vegetables
  • Just vegetables
  • Just fruit
The next step is to select the box size:
  • Bitty Mitty serves 1-2 people for $25.99
  • Small Mixed Box serves 3-4 people for $33.99
  • Medium Mixed Box serves 4 people for $40.99
  • Large Mixed Box says it serves "a party" for $57.99
Once you have selected the box variety and size, you need to select your delivery schedule. You can choose every week, every other week, place vacation holds, etc. 

Depending on your size box, you get a list of items that will be delivered for that week. Another great thing about Door to Door, is that you can make substitutions. For example, I was able to substitute 3 fruit choices, for 3 vegetable choices. Once you select all your items, you are free to add additional items to your box. Door to Door offers a variety of produce, meat, poultry, fish, bakery, deli, pantry and drink items. 

Since I'm someone who likes a bargain, I was pretty curious to see if I would save money. We go through a lot of produce in this house, and most of my meals are made from scratch, so I spend quite a bit on produce every week. 

Here is my first box. I selected the Just Fruit Small Mixed Box to start out.
On the day of delivery, you can set out a cooler, and the delivery person will place your box inside to keep it nice and cool. Although, on a day like today, no cooler was required.

They use mostly paper to pack the produce in. 


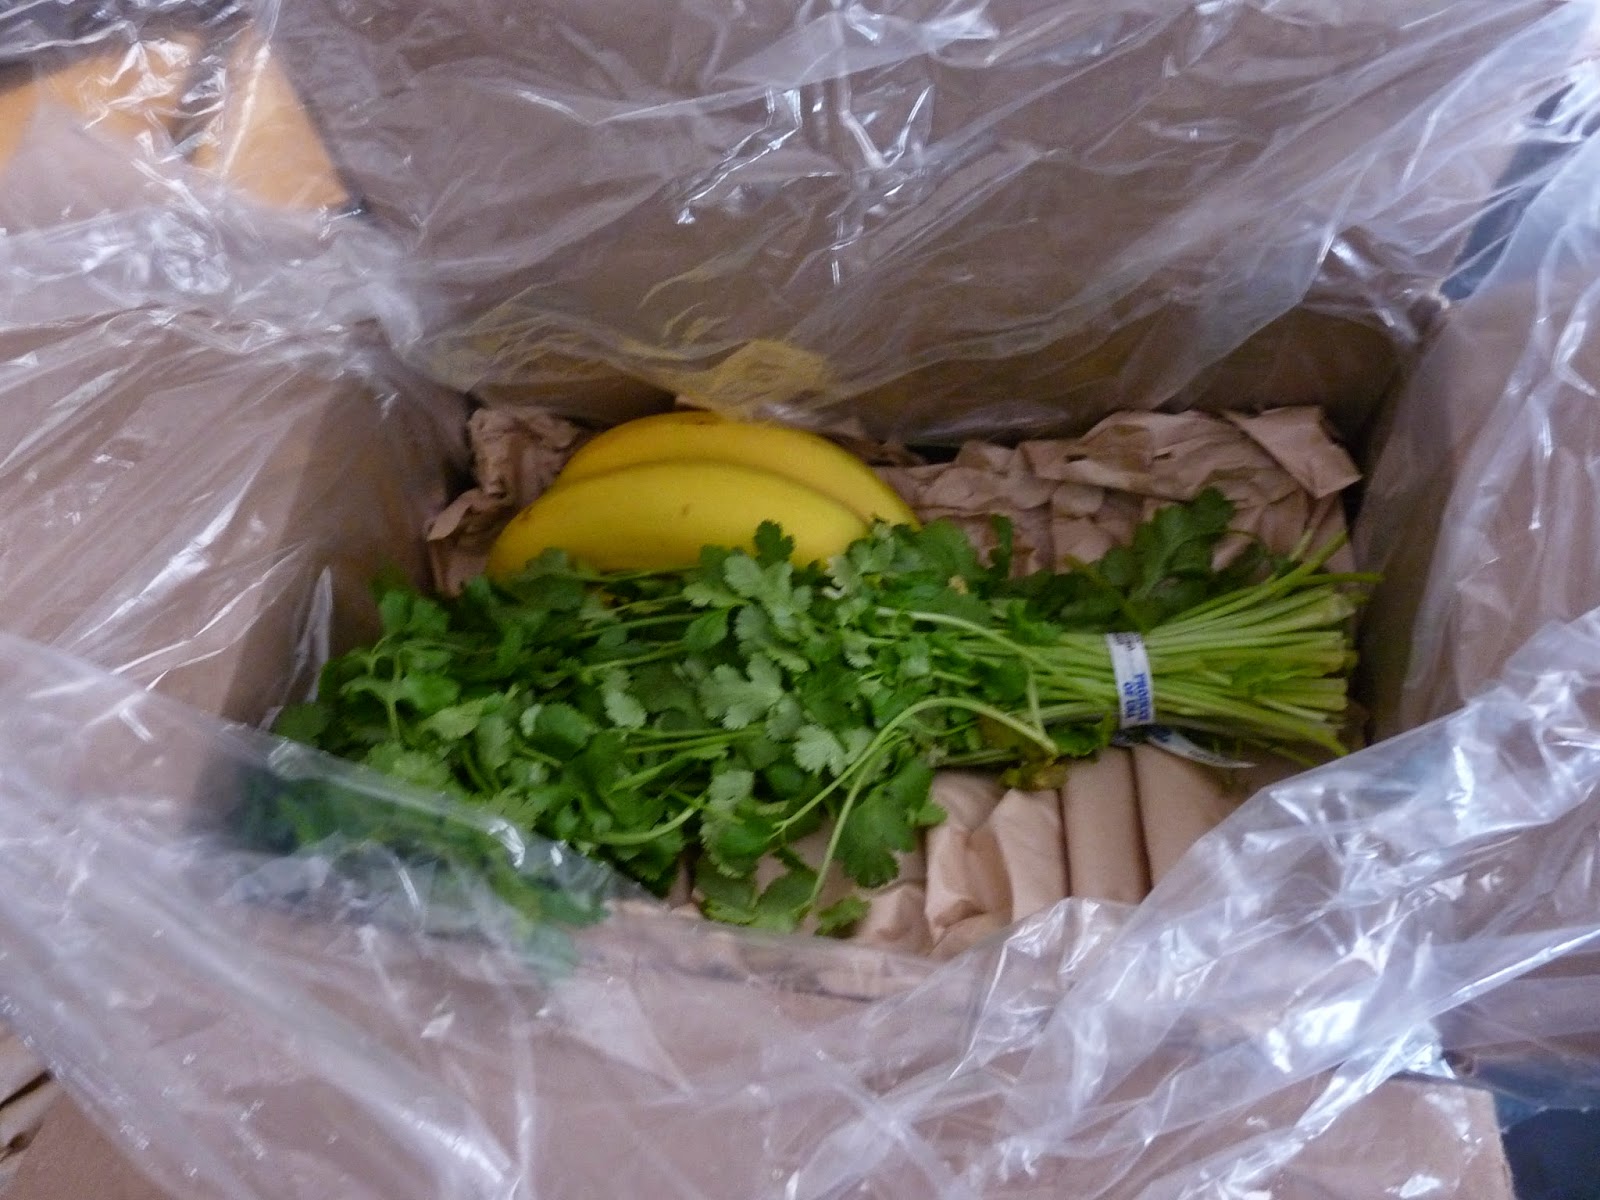
My first layer of produce was 3 bananas, and cilantro.


The next layer had 2 blood oranges, 1 Romaine lettuce, 3 tomatoes, 2 pears, 3 Minnelola tangelos, 2 Braeburn apples,

and the last layer of 3 navel organges, 2 Fuji apples, 2 Pink Lady apples, and 1 avocado.


The final layer was some organic, grass fed ground beef. This was an added item. The price of the organic, grass fed ground beef was $6.99lb. That's a pretty good price. It's usually $7.99 at Sprouts.


Here are some pictures of the produce out of the box. Remember that this is organic produce, so it isn't going to be all shiny and perfect like non organic produce. 


And everything that I bought for the week. The total came out to $40.98, but I had a friend referral coupon, so it brought my total to $25.98.
 

Comparing prices to my normal grocery stores (Sprouts, Trader Joe's, Aldi's), I would say that the prices were comparable to the other stores. So I may not have saved money (other than the ground beef). But I definitely saved myself some running around. I usually go to Sprouts for certain sale item produce, then Trader Joe's for other sale items. Door to Door cuts out some of my running around time. I'm definitely happy with my purchase, and will continue to use Door to Door.


Friday, January 16, 2015

The quest for more makeup- Ipsy Glam Bags!

I love makeup. I can spend forever at Ulta, or any makeup counter. There's nothing like a new BB cream or eye shadow. I should know. I bought new BB cream and eye shadow today (Dream First BB cream by Maybelline, and Adorable Shadow Palette by NYX).  Love them both!

This month, I am finally receiving my first Ipsy bag. I had been receiving Beauty Box 5 every month, but canceled once I got off of the long Ipsy wait list. Plus, Ipsy is $2 cheaper. For $10 a month, you get a customized sample of beauty products, plus a make up bag from Ipsy. You complete a questionnaire so that they know what type of products to include in your Ipsy bag.

Here is what was in my bag. From the moment I opened my mailbox, I loved what I saw. Pink!

This is the make up bag. It's probably not big enough to use when I travel, but it's the perfect size to throw in my handbag. 


It was blue on one side,


and white on the other. White? Not a good color, but what are you going to do?


And here is what was inside.

On the left:
  • Bella Pierre Shimmer Powder in excite. The color is like a shimmery white. I'm not sure about the color. I'm not big on white. I tend to like browns and pinks for shadow colors.
  • Pacifica Natural Mineral Coconut eye color in Treasure. I love this one. The color is will look nice all over the lid. But the packaging was kind of flimsy. The little case was glued into the box. I had to tear it up to get to the shadow. And the shadow case feels like cheap plastic. It's not something I would keep in my handbag for that reason. 
  • Nourish Organic Renewing Eye Cream. It's a small sample, but the cream does feel nice and moisturizing.
On the right:
  • Elizabeth Mott All Over Shadow Brush- I really like the brush. I will definitely use it. And it's pink!
  • Malin + Goetz Mojito Lip Balm- I like this too. I will pass this on to Nik, since the winter tends to dry out his lips. It doesn't have a scent or weird taste, so I think he will like this.


That's it. There were some hits and some misses with my first Ipsy. But I would say that I got my $10 worth. I love that it comes in a make up bag! I will keep subscribing for now.

If I had to compare between the 2, I would say that I liked my Beauty Box 5 subscription better. But with Ipsy, you control the type of products you receive, based on a make up questionnaire. So I think I will go back to my Ipsy questionnaire and change things up a bit. Let's see what I get in February. 

Friday, January 9, 2015

A thrifty girls version of Valentine's decorations


This year, we are hoping to make some home improvements. And I'm starting that off with some simple home decorating around the house. At a minimum, I want to at least decorate the mantle for the different holidays and celebrations throughout the year. Now, I'm not the best person at decorating. I struggle with trying to find things that match. I'm filled with self doubt on whether or not this picture frame would match with that candle holder.

I like things to match. If you have seen me, you know that my handbag, scarf, gloves, and winter coat all coordinate. But I really have a hard time throwing things together for the house. It's funny. I could make huge life changing decisions with relative ease. I knew that I wanted to marry Alex and have kids within a few months, knew that I wanted to move to Kansas once we visited, knew that I needed to end my career when we moved. But ask me what sofa and ottoman to pick out, and I become the queen of indecision. But thanks to Pinterest, I can now rip off...I mean become inspired...people from all over.

So after pouring over Pinterest, I found some things that I thought I could make on my own. I bought most of the things at Dollar Tree. But a couple of items were purchased from Michael's and Hobby Lobby.

Here's a list of what I bought.

Dollar Tree-
Crepe paper rolls in pink  (4 rolls)- 2 rolls/$1
Decorated shredded paper in pink and red 2 bags at  $1 each
Tissue paper in pink- 1 pack for $1
Tall Valentine's glasses (2)- $1 each
Valentine's pink scarf- $1
Valentine heart table scatter (2 packs)- $1 each
Foam wreath- $1
2 Vases- $1 each

Michael's-
Foam balls (2)- $2.99 each
Dark pink crepe paper rolls 3-$1.99 each

Hobby Lobby-
Valentine foam heart pack with ribbon trim- $5.99
Valentine heart floral pick- $1.99
Craft picture frame- $2.99

So I spent less than $40. But truth be told, I could have spent less. I didn't need as much crepe paper as I had thought. And I could have cut out one or 2 vases from the mantle.


I started out by making what I call flower balls. There's probably some fancy name for them. But I like flower balls. I headed over to Michael's to buy 2 styrofoam balls. With my two balls in hand ; ), I headed over to Dollar Tree and Hobby Lobby for the rest of the supplies.

Once home, I started making my paper flowers to cover the foam balls.  I took the crepe paper and cut it into 24" strips. Then fold it and start rolling.


And rolling, until it looks like a flower. Sort of.


Then you keep going and going and going...

Until you have enough flowers to cover 2 foam balls. You will need a lot of flowers. Once I had my flowers, I just used my glue gun to start sticking them onto the foam balls. Shockingly, I only burned myself about 10 times.

I moved on to the wreath next. The cheap Dollar Tree wreaths are green, so I used my left over crepe paper and wrapped the wreath. Then I took the tissue paper and cut it into 4x6 pieces.


Then I twisted the pieces like so. 


Once I had all of the pieces, I used my handy glue gun, and started to stick them onto the wreath.

Surprisingly, I managed to burn myself less than with the foam balls. Hey, I'm getting better at this stuff!
I had some left over crepe paper flowers, so I used them to fill in some gaps on the wreath. I finished it off by tying the scarf around the top.


Next, I went to town on the craft picture frame.
It started like this.
I took the table scatter hearts, and you guessed it. I used my glue gun. Only this time, I didn't burn myself. 


The rest went along much quicker. I used either decorative shredded paper, Valentine's table scatter, or puffy foam hearts to fill the vases and glasses. I used some ribbon that I already had, just to add a little extra pink to it.


And this is me eating an In N Out burger. Because if there was an In N Out here, I totally would have treated myself to a burger.  Happy crafting!


Monday, January 5, 2015

So you have a bunch of left over tamale sauce...

Yesterday, I shared all of the work that goes in to making tamales. If you decide to make tamales based off my mother in law's recipe, you will find yourself with extra tamale sauce. You can dump it out (NO!), or save it for future use (YES!).

One year, I divided the extra sauce into gallon ziplock bags and froze them for future use. This year, we used the sauce in a matter of days.

Here are 2 ways to use fresh chili sauce.

1. Chicken Tortilla soup- It's a variation of the Applebee's tortilla soup.
I love a nice, thick chicken tortilla soup cooked in the crockpot. And this sauce would go nicely with the recipe. I wish I would have saved more sauce to try this out. Here are the ingredients.

  • 1lb chicken, diced into small squares
  • 1 large can crushed tomatoes
  • 1 to 1 1/2 cups of the leftover chili sauce
  • 1 onion, diced
  • 1 can diced tomatoes with green chiles
  • 1tbsp minced garlic
  • 1 cup chicken broth
  • 1 to 2  cups water, depending how thick you like soup
  • 2 shakes of cumin
  • 2 shakes of chili powder
  • 1 shake of salt
  • 1 shake of pepper
  • 1 package frozen corn
  • 1 tbsp chopped cilantro
  • tortilla chips
  • cheese of your choice
Pour in the chicken, crushed tomatoes, diced tomatoes, chili sauce, onion, garlic, chicken broth, corn, into the crockpot and mix well. Then add in all of your spices and cilantro. Mix well. Cover and cook on high for 3 hours or low on 6. Serve with crumbled chips and grated cheese on top.


2. Enchiladas
You can fill your enchiladas with chicken, sour cream, cheese, etc. You may need to thin out the sauce a little. Just add a bit of water and mix well. Bake them in the oven on 350 until the cheese is melted.